
Introduction to NodeJS
What is NodeJS?
NodeJS is a platform built upon Google Chrome’s V8 Javascript runtime — the results are simply amazing when you consider that Javascript is an interpreted language. How is this performance accomplished? Actually, V8 compiles the Javascript source code just-in-time to byte code for optimal efficiency. NodeJS (or more simply node) does not have a built-in http server like (Apache or Tomcat), nor does it do anything useful when you first bring it up. It is simply an easy way for developers, like you, to build high-performance server-side applications with little effort using Javascript. Node, itself is written in C++ and has embedded the V8 Javascript runtime engine for high-performance.
Downloading NodeJS
NodeJS offers an easy way to download and install the software from its website at http://www.nodejs.org/. It offers both source code and complete binaries for many different operating systems including Windows, Mac OS, Linux and Sun OS.

Clicking on the downloads link, will take the user to the http://www.nodejs.org/download/ URL and display the following screen.
 Since I am running on Windows 64-bit operating system, I would choose the 64-bit option highlighted in grey.
Please download the appropriate binary for your computer and install nodeJS. In my case, I chose to download the 64-bit MSI version (Microsoft Installer).
Once you have installed node, we can begin to interact with node.
Starting up Node
If you installed node correctly on your server, you should be able to type in “node” and get a command prompt. It up and running, now what? Nothing much happening… That’s right. At this point, node will allow you to type in Javascript operations like 6+8, and it will reply back with 14. Let’s move on, to our Hello World App.

Our first NodeJS App, what else “Hello World!”
Ok, let’s write our first program in node. Create a file called, likely enough, “hello.js”. We are going to log a message to the console using the following:
console.log("Hello World!") 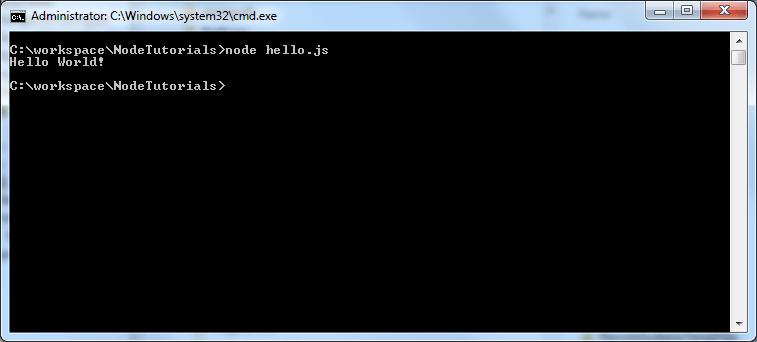
Wow, that was simple. Now let’s move on to something a little more complex.
Writing our First HTTP server, echoing “Hello World!”
Now, we want to create our Hello World example, but this time on the as a very simple web server that only writes back in plain old text, “Hello World!”. As you will see, its not that complicated either.
/**
 * Project Name:      NodeJS Tutorials
 * Application Name:  Hello World -- Simple HTTP Server
 * Author:            Amaury Valdes
 *
 */

// requires the http module, set host to localhost, set the port to 8888
var http = require("http"),
    host = '127.0.0.1',
    port = 8888;

// output to the console the message we are starting server
console.log("Starting http server...");

// create the server using http.createServer and pass in the request and response
var server = http.createServer(function(req, res) {
	console.log("Received request " + req.url);
	res.writeHead(200, {"Content-Type": "text/plain"});
	res.end("Hello World!");
});

// start the server and begin listening on host:port   (localhost:8888)
server.listen(port, host, function() {
	console.log("Listening on " + host + ":" + port);
});
Let’s test it out on a web browser, in my case I am using Google Chrome and connecting to http://localhost:8888

Writing an HTTP server that reads files
/**
 * Project Name:      NodeJS Tutorials
 * Application Name:  Simple HTTP Server to read/serve files
 * Author:            Amaury Valdes
 *
 * Disclaimer:  This is only for demonstration purposes in the tutorial.
 * This may not be the best approach for general use.  I have not
 * designed against injection or traversal attacks, etc.
 * Use at your own discretion !!!
 *
 */

var http = require("http"),
url = require("url"),
path = require("path"),
fs = require("fs")
host="127.0.0.1",
port = 8888;

var server = http.createServer(function(request, response) {
   var uri = url.parse(request.url).pathname;
   var filename = path.join(process.cwd(), uri);

   fs.exists(filename, function(exists) {
     // if page not found, redirect to error-page
     if (!exists) {
       console.log(">>>>>File Not Found...: " + filename);
       filename = path.join(process.cwd(), "error.html");
     }
     stats = fs.lstatSync(filename);

     // Check if is it a directory, redirect to error-page
     if (stats.isDirectory()) {
       console.log("#####File Not Found...: " + filename);
       filename = path.join(process.cwd(), "error.html");
     }
     console.log("serving file...: " + filename);
     fs.readFile(filename, "binary", function(err, file) {
     if(err) {
        response.writeHead(500, {"Content-Type": "text/plain"});
        response.write(err + "n");
        response.end();
        return;
      }

      response.writeHead(200);
      response.write(file, "binary");
      response.end();
    });
  });
});

server.listen(port, host, function() {
  console.log("Listening on " + host + ":" + port);
});
6.1 The HTML for error-page
Below you will find the html page I created for the 404 page not found. I included the CSS style in the HTML code so that all the code would be in one file. Normally, I would create a separate CSS stylesheet page and simply include it in the html code.
<!DOCTYPE html>
<html>
  <head>
    <title>Page not Found, Error Code 404</title>
    <style>
      table {
        width:700px; border: 1px solid black;
      }
      th, td {
        padding: 5px; text-align: left;
      }
      p {
        font-family: "sans-serif; font-size: 0.875em;
      }
      .title {font-family: "sans-serif; font-size: 0.875em;font-weight:bold;}
      .orange { color:#F57311 }
    </style>
  </head>
<body>
  <div>
    <table >
      <tr>
        <td><h1 class="orange">Page Not Found</h1>
          <h3>The page you're looking for has moved,<br />
          been replaced, or is currently unavailable<br />
          to view.</h3>
          <span class="title">Bookmarks and External Links</span>
          <p style="padding-top:5px;">If you previously bookmarked this page and have now reached this<br/>
          message, please make sure the link was not modified. Please try another URL.</p>
          <br/>
          </td>
        <td>
          <image src="/oops.jpg" width="204" height="202">
        </td>
      </tr>
    </table>
  </div>
</body>
</html>
Testing it out
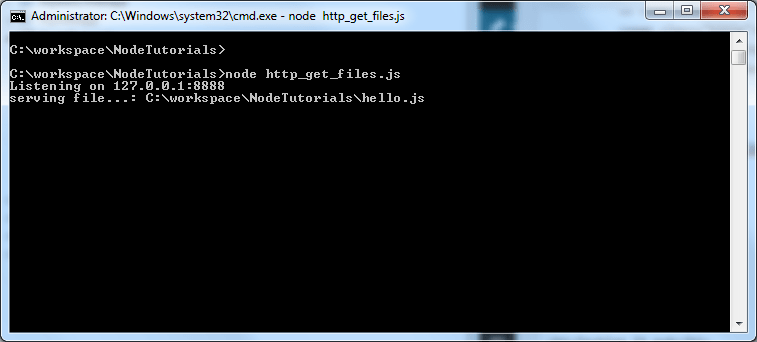
In this first Test, we will bring up our browser and type http://localhost:8888/hello.js. We should display the contents of the file we had previously created earlier in this tutorial.

In our console window, we can monitor what files are being served. As you can see, it appears that hello.js was sent back to the browser.
Let’s try an image file
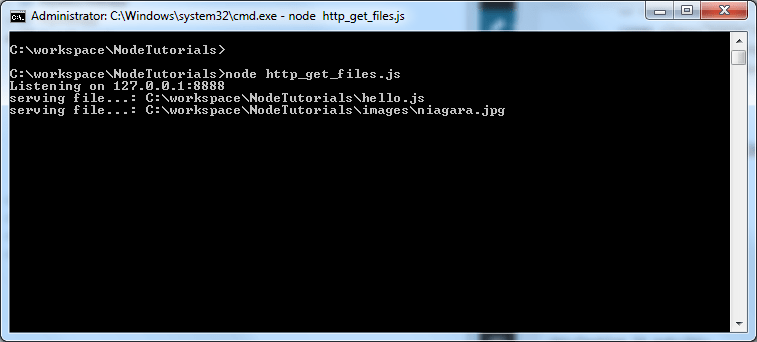
For our next text, I have saved a photo from my Niagara falls trip in the images folder. Let’s see if our little server can display the file back to us correctly. The URL this time, is http://localhost:8888/images/niagara.jpg.
 Let’s check our console window again. Just to make sure everything is fine.
6.2.2 Let’s try to put some bogus filename
For this test we are trying to see if putting none existent files will in fact, redirect us to the error-page that we set up. Let give it a try. The URL this time, is http://localhost:8888/whatisthis.js

As you can see below, our server caught the File not found error, and redirected to the appropriate error.html page. We also logged the original request so that we can see what file the user originally requested.

What’s Next
In our next tutorial, we will continue to build upon these examples and build more complex and elaborate examples. Please stay tuned.
Leave a Reply